Nookduino Build Process
For the first Nookduino I assembled, I used solder paste/ stencil (with my rev 2 frame) and a hot air station at the hackerspace I belong to. I had a spare heated bed for my 3D printer that I setup to act as a make-shift pre-heating board, which seemed to help and reduced the time I was hitting the board with the hot air for.
I ended up finishing some of the larger SMD components with a soldering iron, and of course all of the through hole components.
The first board went together pretty well. My biggest issue is that despite the fact that my computer could 'see' the USB device, I could not program the ATMega328. I thought that I had mis-soldered the Cypress CY7C65213 chip so I removed it a couple of times and scorched the pcb. I also did quite a number on my first speaker.
The problem was actually that I had populated a resistor on the board that was not meant to be populated in the original Duemilanove design. Populating this resistor held the reset line down, so the bootloader would never respond.
I did the next 4 boards the same way, hot air and soldering iron. I used unleaded paste for the first 5
The first 5 boards are completely usable, but the build quality wasn't quite what I was shooting for. Between that, the amount of time it took, and a statewide curfew separating me from my hackerspace, I broke down and got a small reflow oven.
I spent a night doing the prerequisite hacking to the oven (replacing masking tape with kapton, flashing the firmware, installing a cold junction device) but my initial soldering tests where not coming out great. I didn't have a proper RTD or thermocouple on hand to measure the actual temperature in the oven, but I did have the thermistor from my 3D printer that was good to 300C. Now the wires, not so much. But some heatshrink and kapton tape was enough to shield the end of the wire so that I could compare what the oven was reading (at the middle of the oven) to where the boards would actually be.
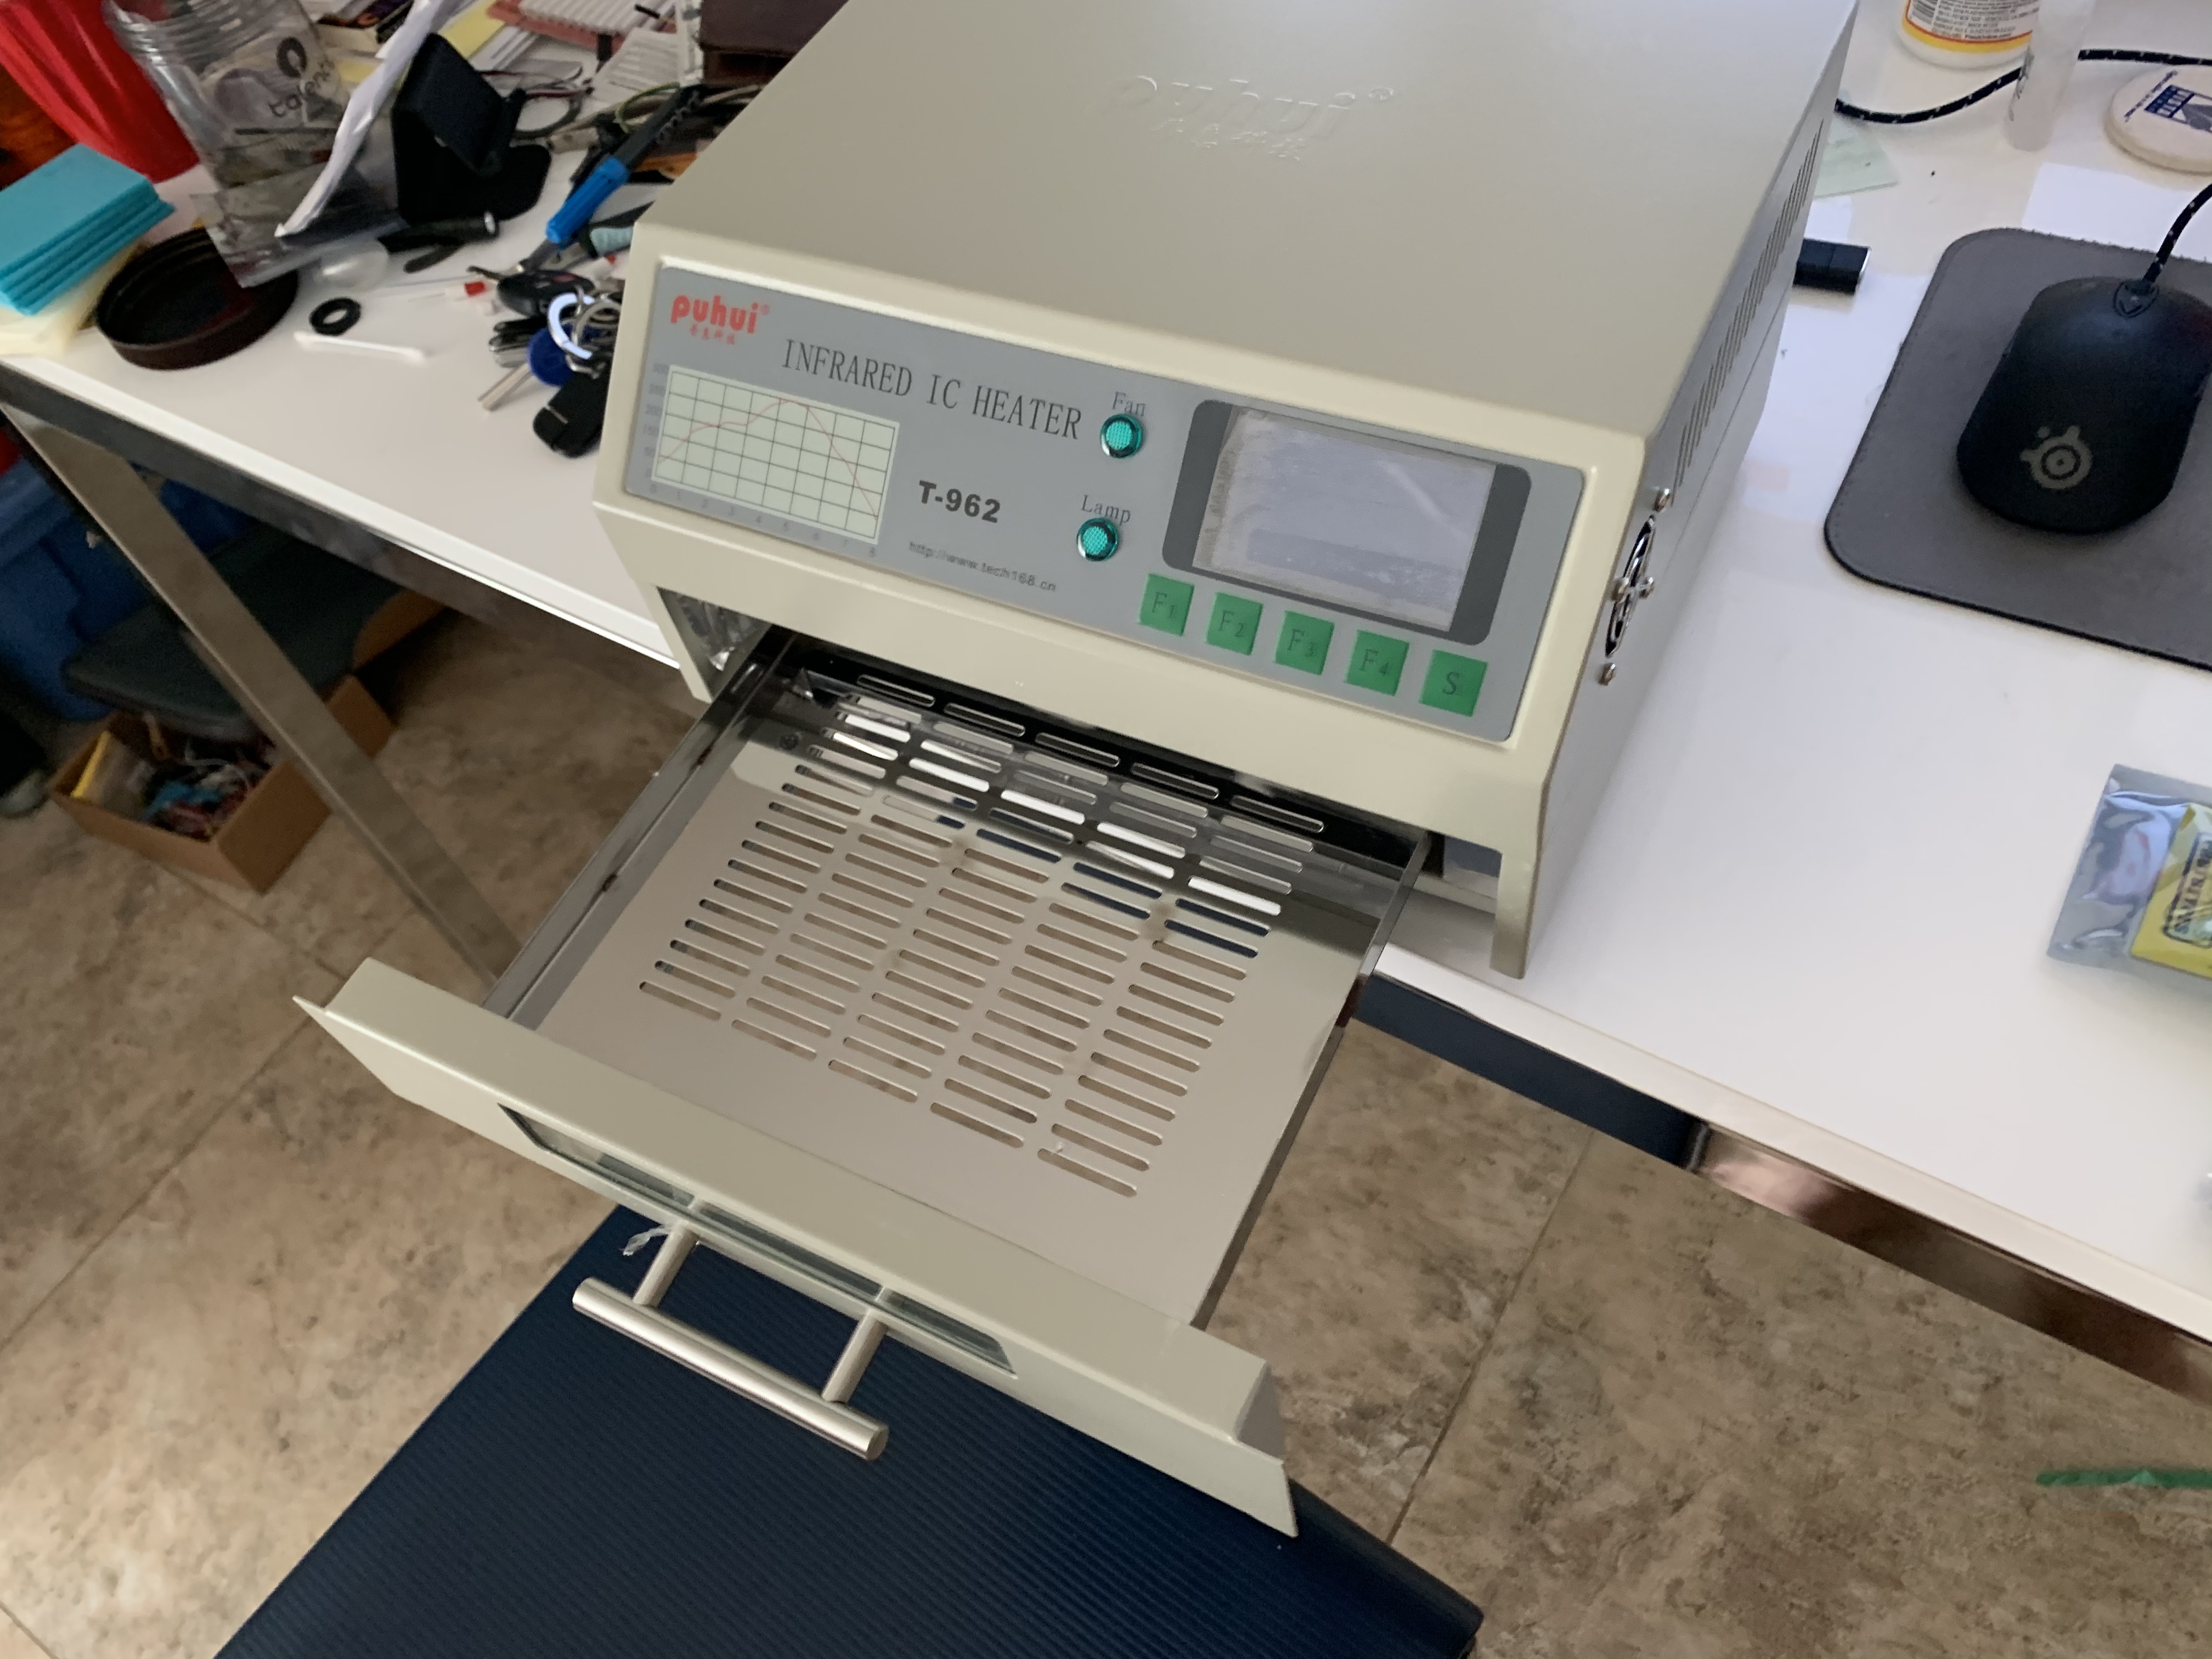
Now this still isn't perfect - the oven measured left and front, and then averages the two, and overall the evenness of the heat isn't all that great. But I was getting pretty consistent readings of 20-25c colder than what the oven thought. A little bit of spreadsheet magic and I came up with a gain and offset to plug in to the oven (thank you unified engineering for your firmware, you are lovely).
At the very beginning of the oven not cooperating, I switched to leaded paste. Even with all my mods, I wasn't getting all of the paste to melt on my test runs. I probably should have played with my gain/offset until it did, or edit the temperature profile, increasing the temperature incrementally until it worked. But I'm impatient, and there was a perfectly good unleaded profile with beefed up temperatures. So I hit 'S' to start and got that oven running. Lo and behold, paste melted just fine.
I'm sure my friends over at PCBX would be horrified by all this, but hey it works.
My test board was some chopped up proto-board with some paste smeared on it, so I wasnt sure what I'd get when I put in my first actual Nookduino in there. But 7 minutes later, all of the SMD parts came out with nice shiny joints.
I got ambitious and tried to put 3 boards in at a time, but that didn't fly - the outer components still didn't flow, so those boards went back in one at a time. After a few more single board runs, I got ambitious again and found that I could get 2 boards running at a time consistently.

I've got lots of thought on improving the oven (most of them just being implementing suggestions on unified engineering's wiki) but for now the oven has served it's purpose. It also helped in de-clogging a nozzle for my printer, so there' a plus.
To go with my oven I bought a KSGER soldering iron station and some HAAKO tips for it. I'm actually really happy with it. I know that I need to do some temperature tuning on it, but out of the box it was good enough to get me going.
Several hours of soldering and one scorpion sting later, I sat there in my garage with all 30 of the Nooduinos built. Here are some rough time estimates
- It took me about 2 hours to apply paste and place components to 8 boards, so about 15 minutes per board.
- I could bake 2 boards at a time, each bake cycle took 7 minutes, so add another 3.5 minutes per board.
- I spent another 5 minutes per board doing some basic inspection and solder/wick rework if I had any tombstones or bridging on the smaler pitch parts
- I spent 5 minutes cleaning the tops of 2 boards with deflux, IPA and a brush, so add another 2.5 minutes per board
- Through hole soldering took another 10 minutes per board
- Bottom / Final cleaning was another 2.5 minutes per board.
So we're looking at something close to 40 minutes per board, about 20 hours for 25 boards. I'm not sure I'm ready to even quantify how long the hot air method took me, but including setup / tear down, rework and travel, it took me 3-4 times as long to build them that way. I imagine that time would have started dropping, but I really doubt I would have gotten below 2x time.
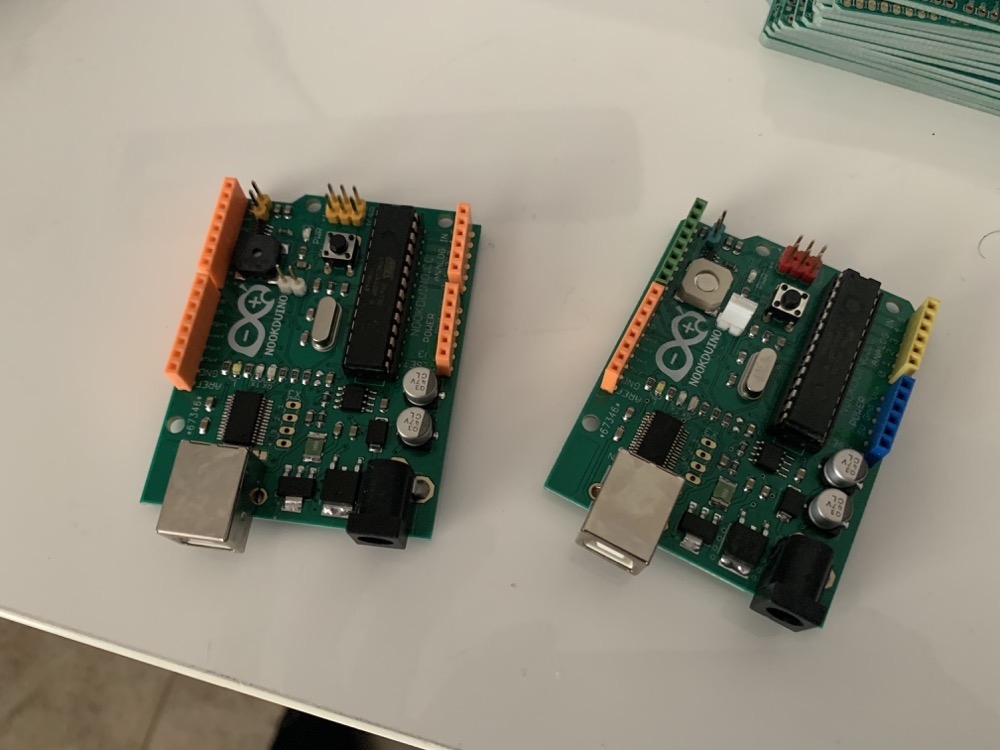
I made a handful of 'variant' boards. As well.
- Three boards used some of these Colored Headers from Mdfly. I liked the orange/green mix, though it takes it even further away from the in-game look.
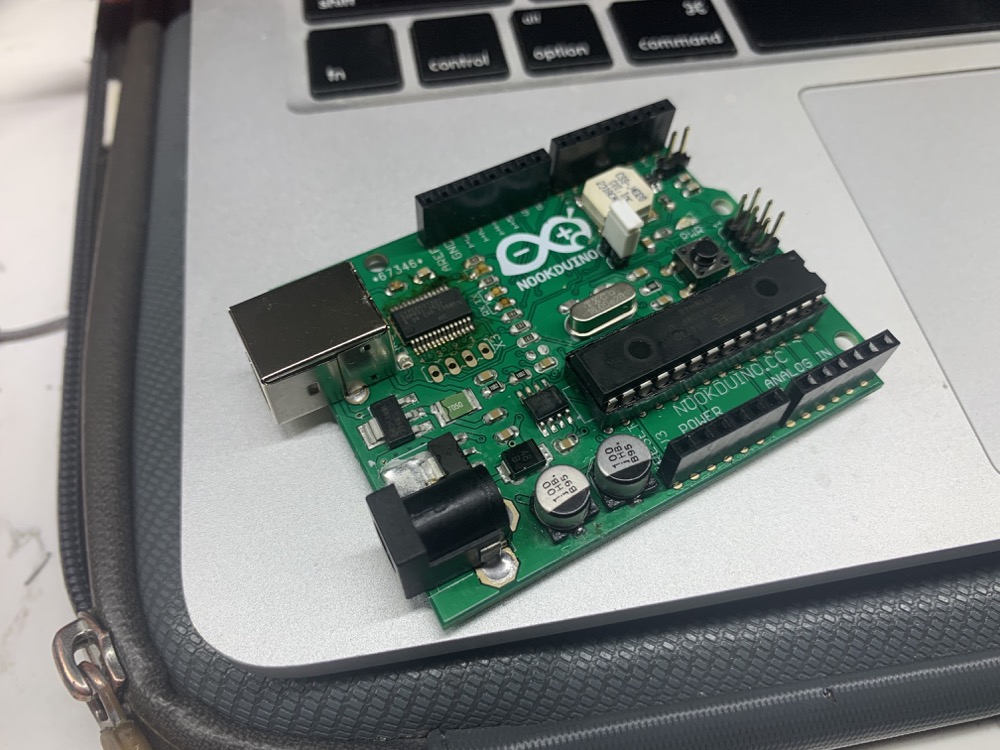
- One board has an FTDI chip. I had purchased one chip early on so that I could test incase the cypress chips didn't work out.
- Four boards are sporting different speakers from the rest. Originally I wanted to use the Same speaker as on the Adafruit Circuit Playground Express. However that is a 3.3v board that tops out at 4.5v. I ended up using it's big brother after some hunting on digikey. Now I'm not sure if digikey just had a limited selection, or I just didn't do a good job of searching, but that's the only speaker I came across at that size. Later when I was making a second order at Arrow I found a bigger variety of 8.5mm speakers, so I figured I'd try them out( Spoiler, they're all pretty much the same, but some look cooler.)