Lessons Learned
Projects like this can be great teachers. Sometimes they teach you new lessons, sometimes they remind you of old ones. And sometimes they're just exercises in dealing well with things you can't control. Here's a smattering of my lessons from the Nookduino.
No 3.3v for you
The big one - well, two smaller ones that add up to a big one. I decided to use a Cypress CY7C65213 instead of an FTDI232 for several reasons. I also neglected to analyze the power circuits too discerningly. Had I done this, or paid more attention to https://community.cypress.com/docs/DOC-10995">this comparison, I would have noticed that a)The Arduino Duemilanove does not have a dedicated 3.3v regulator, but instead relies on the FTDI chip for a low current 3.3v supply and B) the cypress chip does not supply 3.3v, but instead an 'unusable' 1.8v supply.
My fix was to not solder in the pin on the 3.3v header and use some small stickers to cover up the 3.3v silkscreen. Not the greatest, but at least it wont destroy anything.
If I had it to do over, I'm not sure if I'd just go with the FTDI, put a dedicated 3.3v reg, or just not have that pin on the board.
DNP wherefore are though?
There's a resistor in the schematic for the original Duemilanove (R2) that I ordered and installed on the first board. Turns out that it's a DNP part and actually breaks upload if installed. I spent way to long thinking I had not installed the chip USB-Serial chip correctly, and it wasn't until I looked at an original Duemilanove that I realized my mistake.
Alignment woes
I got a stencil for helping me assemble the boards. It worked out pretty great, but I wish I would have added some mounting holes. I'm not sure that mounting holes that match the Nookduino would have been the way to do, but something further out tht was pre-measured could have been useful.
I don't know that I could recommend my 3D printed frame, but it worked out surprisingly well for my purposes.
Registration woes too/two
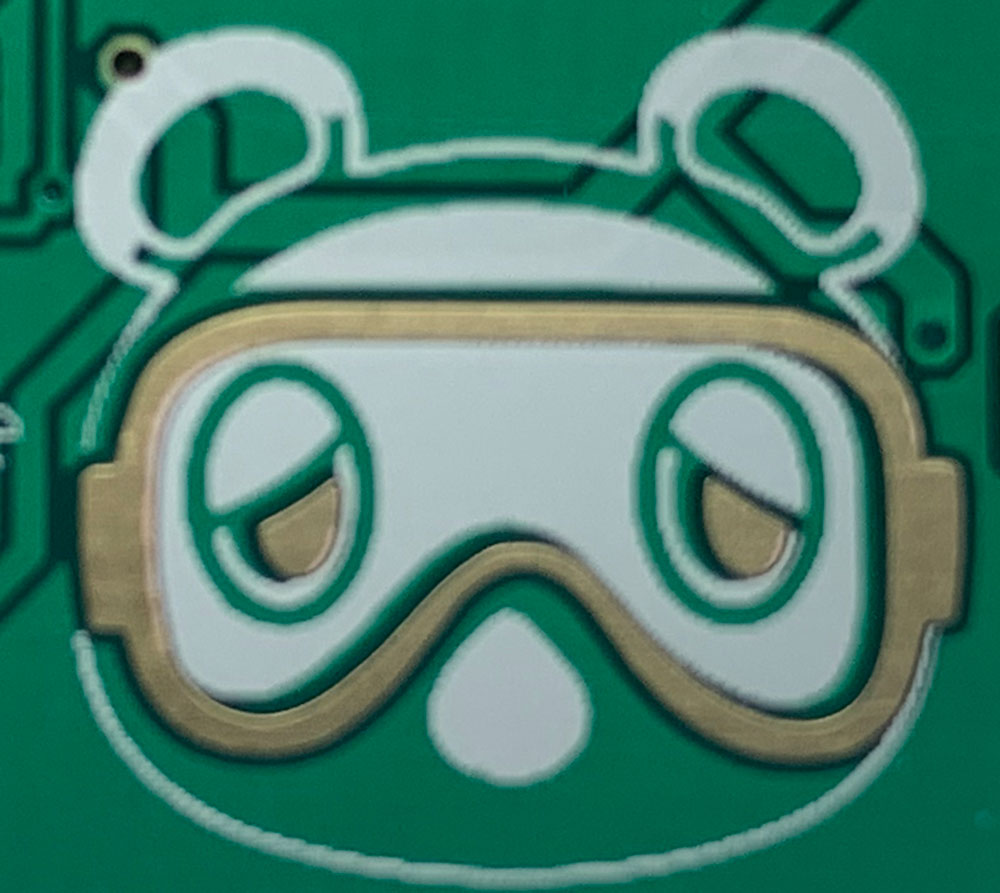
I'm still not sure if there was anything I could do about this (other than buy PCBs from another supplier, but the registration on the silkscreen is slightly off. For most parts it's so minor that you can hardly notice it, but for the mix of silkscreen and copper for the nook face, you can tell.

I wanted the dial at 11, not 1.5
I used the PAM8501 1.5w amplifier based of the Adafruit Circuit Playground Express design. It was ideal because there was a tiny nook that I could fit the chip into, as small as it is. The chip is great for tones, but for the Talkie Library it's just a lot quieter than I'd like. Since the audio feature was am afterthought and it still does what I set out to do, I'm not too broken up, but if I ever make an audio breakout I'd really like a higher power amp and something with some programable gain control.
Sad FDM noises
For having worked 2.5 years at a 3D printing company, you'd think I'd be better at printing. I just ran into a lot of 'gotchas' when trying to do stupid printer tricks.Early in the year I upgraded my printer to a Duet 3 which I love, but I jumped into some production printing for another project before really dialing in the new board. Even after production ceased I just coasted on what I had. I think that might have something to do with the oddities I was seeing. Either way having to reprint initial gcode and not being happy with results definitely cost me some time.
Unoptimized times
My boards got 'stuck' in Hong Kong for 2 weeks. During that time I could have done a better job of keeping things rolling, getting more prints done, code, documentation, projects, etc. but I definitely slacked. For this project it's no big deal, but for anything with a deadline, you really need to make the most of delays, so that when the delays are over, you don't have delays for no good reason.Board Check
I wanted to make 30 assembled boards, so I ordered 40 boards from Dirty PCBs - the extra blanks could go to collaborators and serve as margin if I destroyed any boards. I actually received 46 boards, which was appreciated. Now you'd think I'd no better than to blindly start soldering, but a couple of the boards had some defects in the soldermask. I caught one with the defect on the top before I started, but the second one with the flaw on the underside made it into production.